Apple has released a new project for non-blocking io, appropriately named swift-nio
It also released some SSL helpers for the project that allow you to create servers with
encrypted communication channels.
swift-nio is quite new and Apple appears to be doing quite a bit of work on it.
That means that documentation is pretty sparse for somethings at the moment.
One of those things is how to generate an SSL certificate for use with swift-nio
Below you will find instructions on how to do so
macOS instructions
Below are instructions for using native macOS tools for certificate generation
Open Keychain Access
-
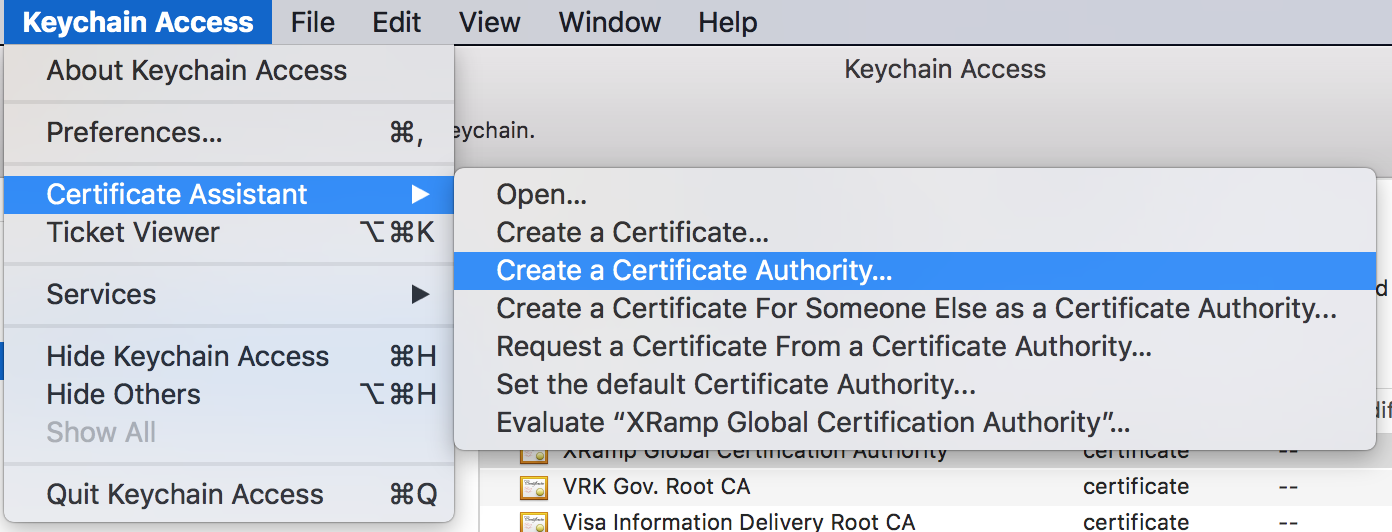
Select Certificate Assistant and then Create a Certificate Authority...
-
You can set the name to whatever you want.
Change User Certificate to SSL Server
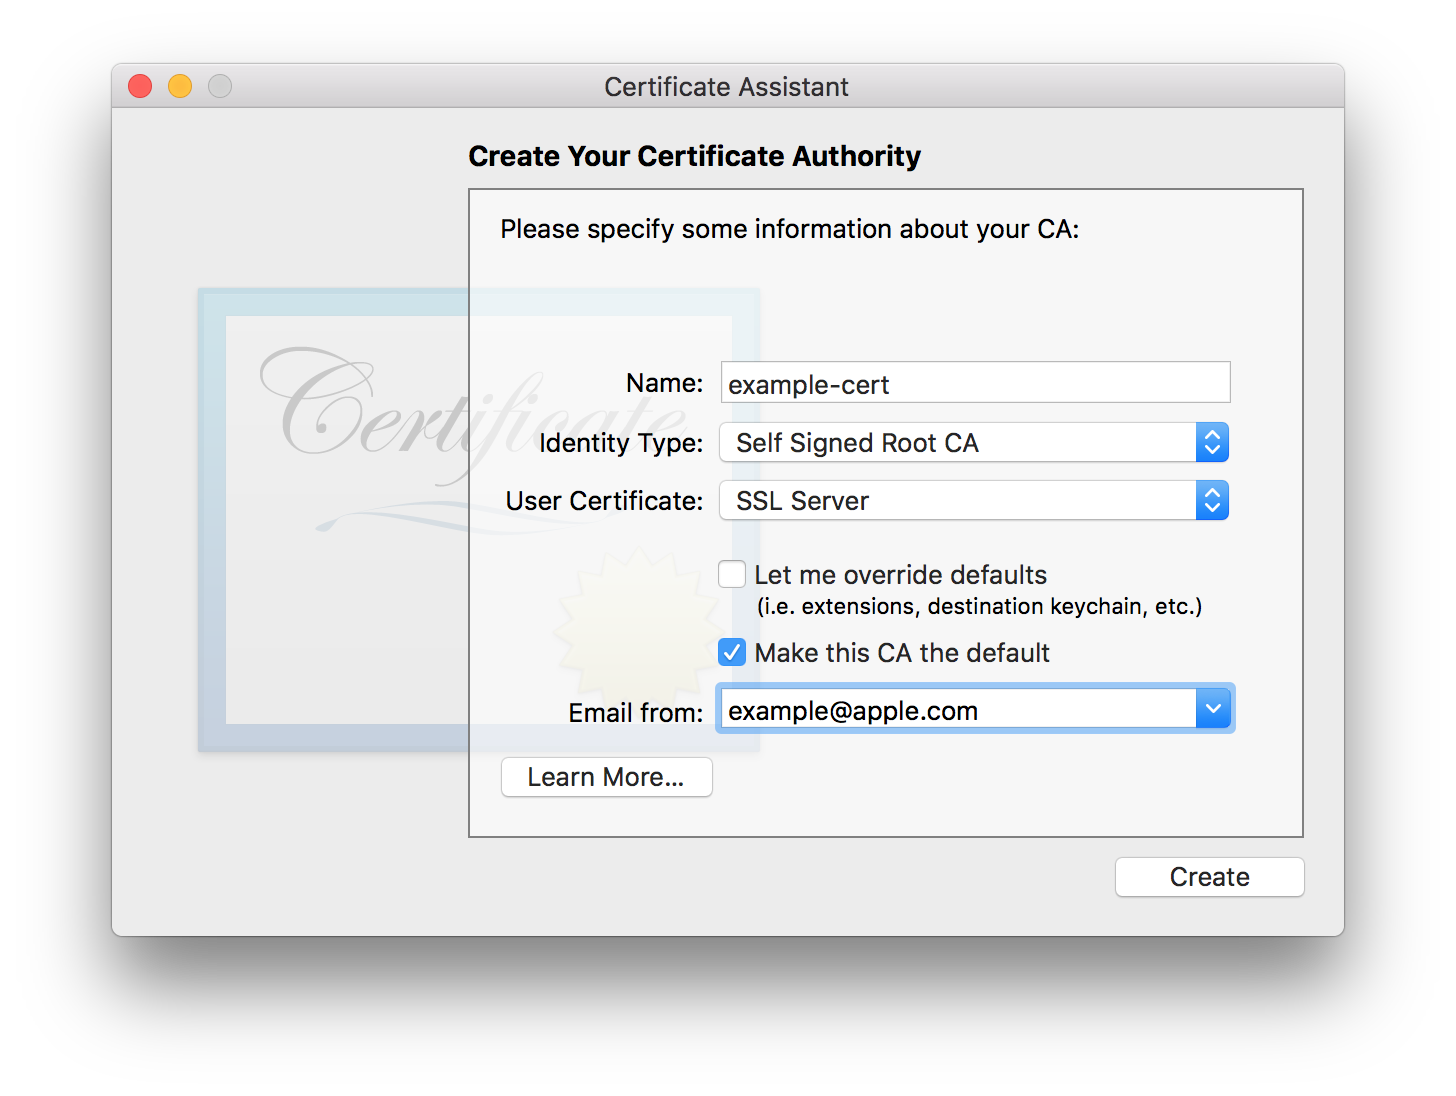
Now press Create
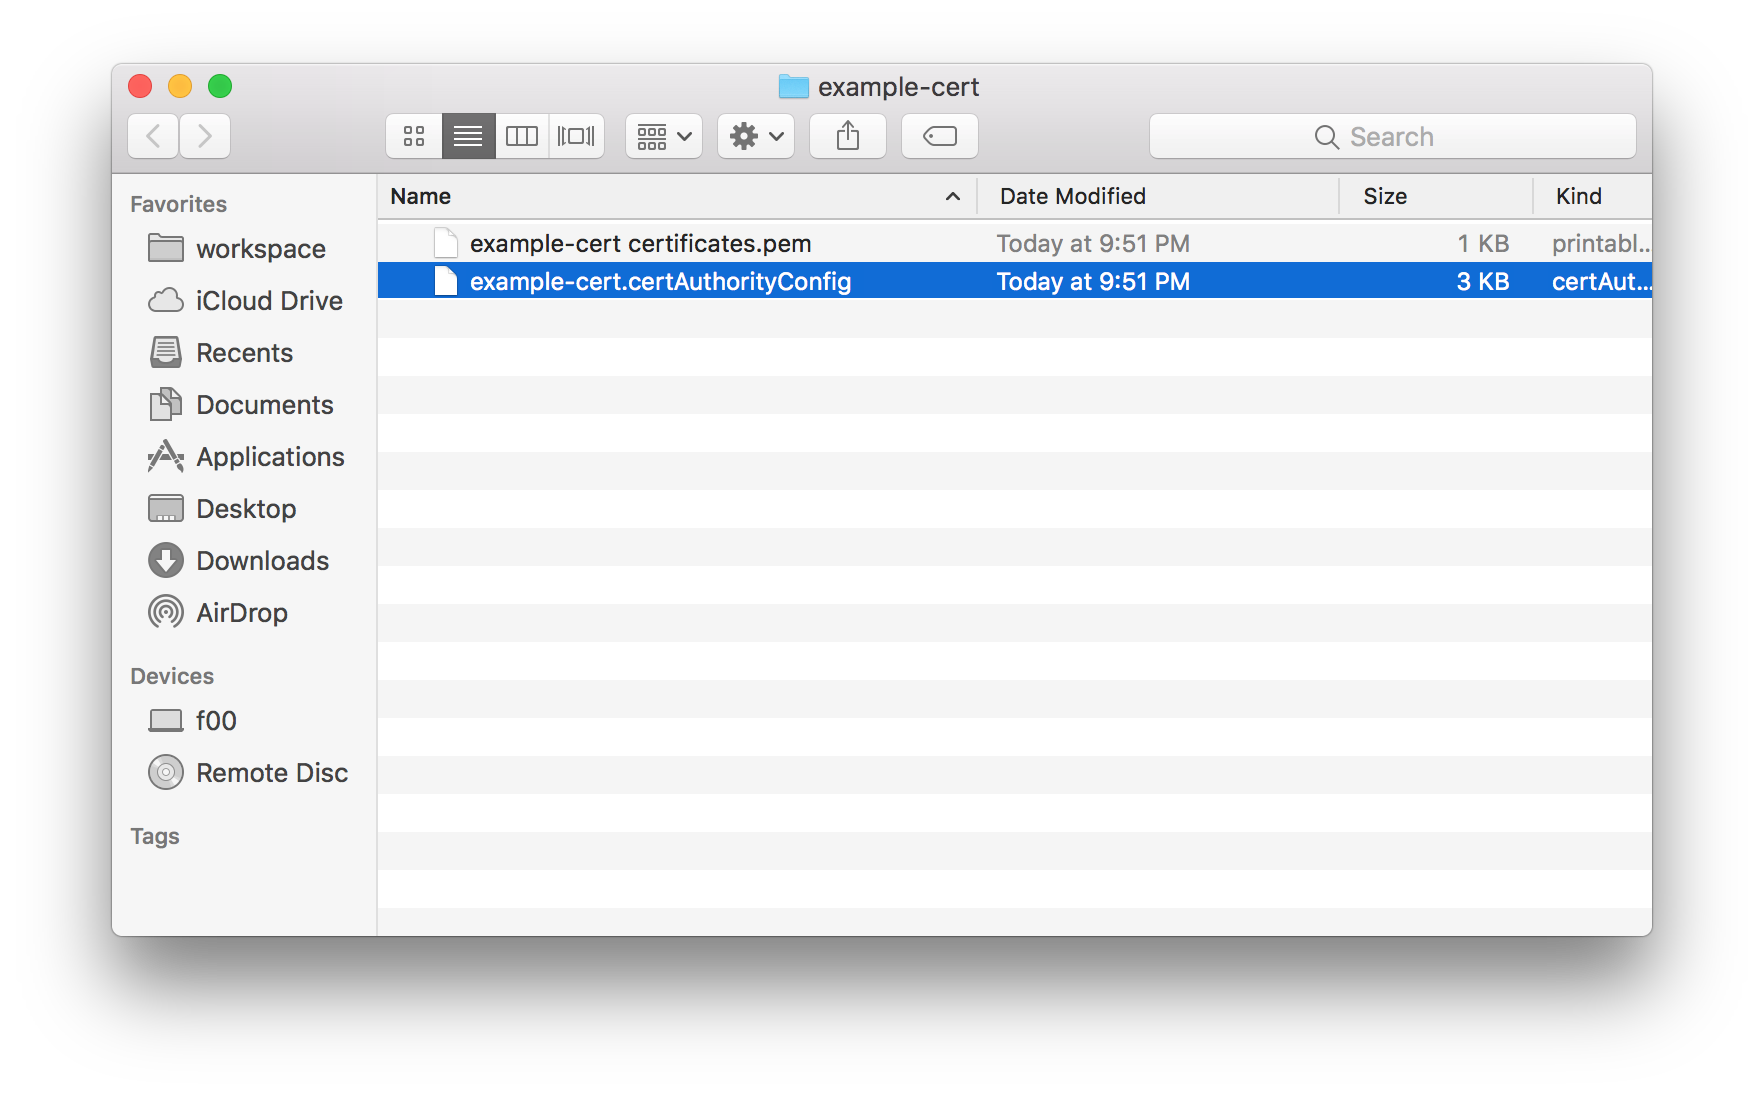
Press Show Certificate Authority
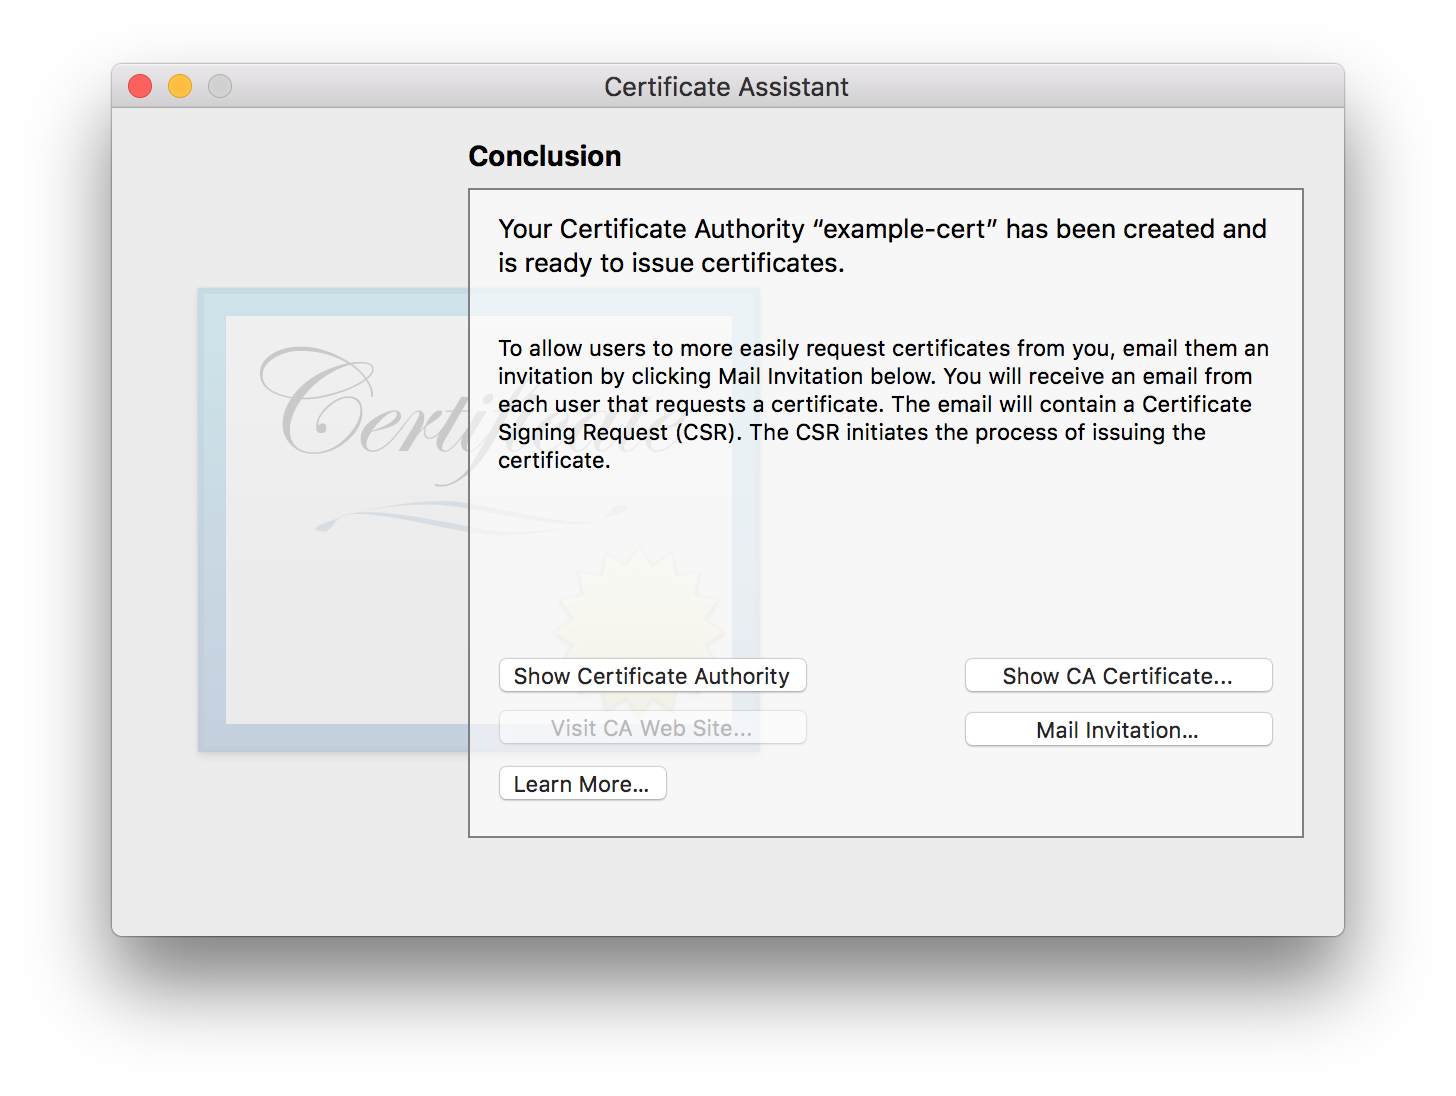
A Finder window will open
The file with the .pem extension is your certificate.
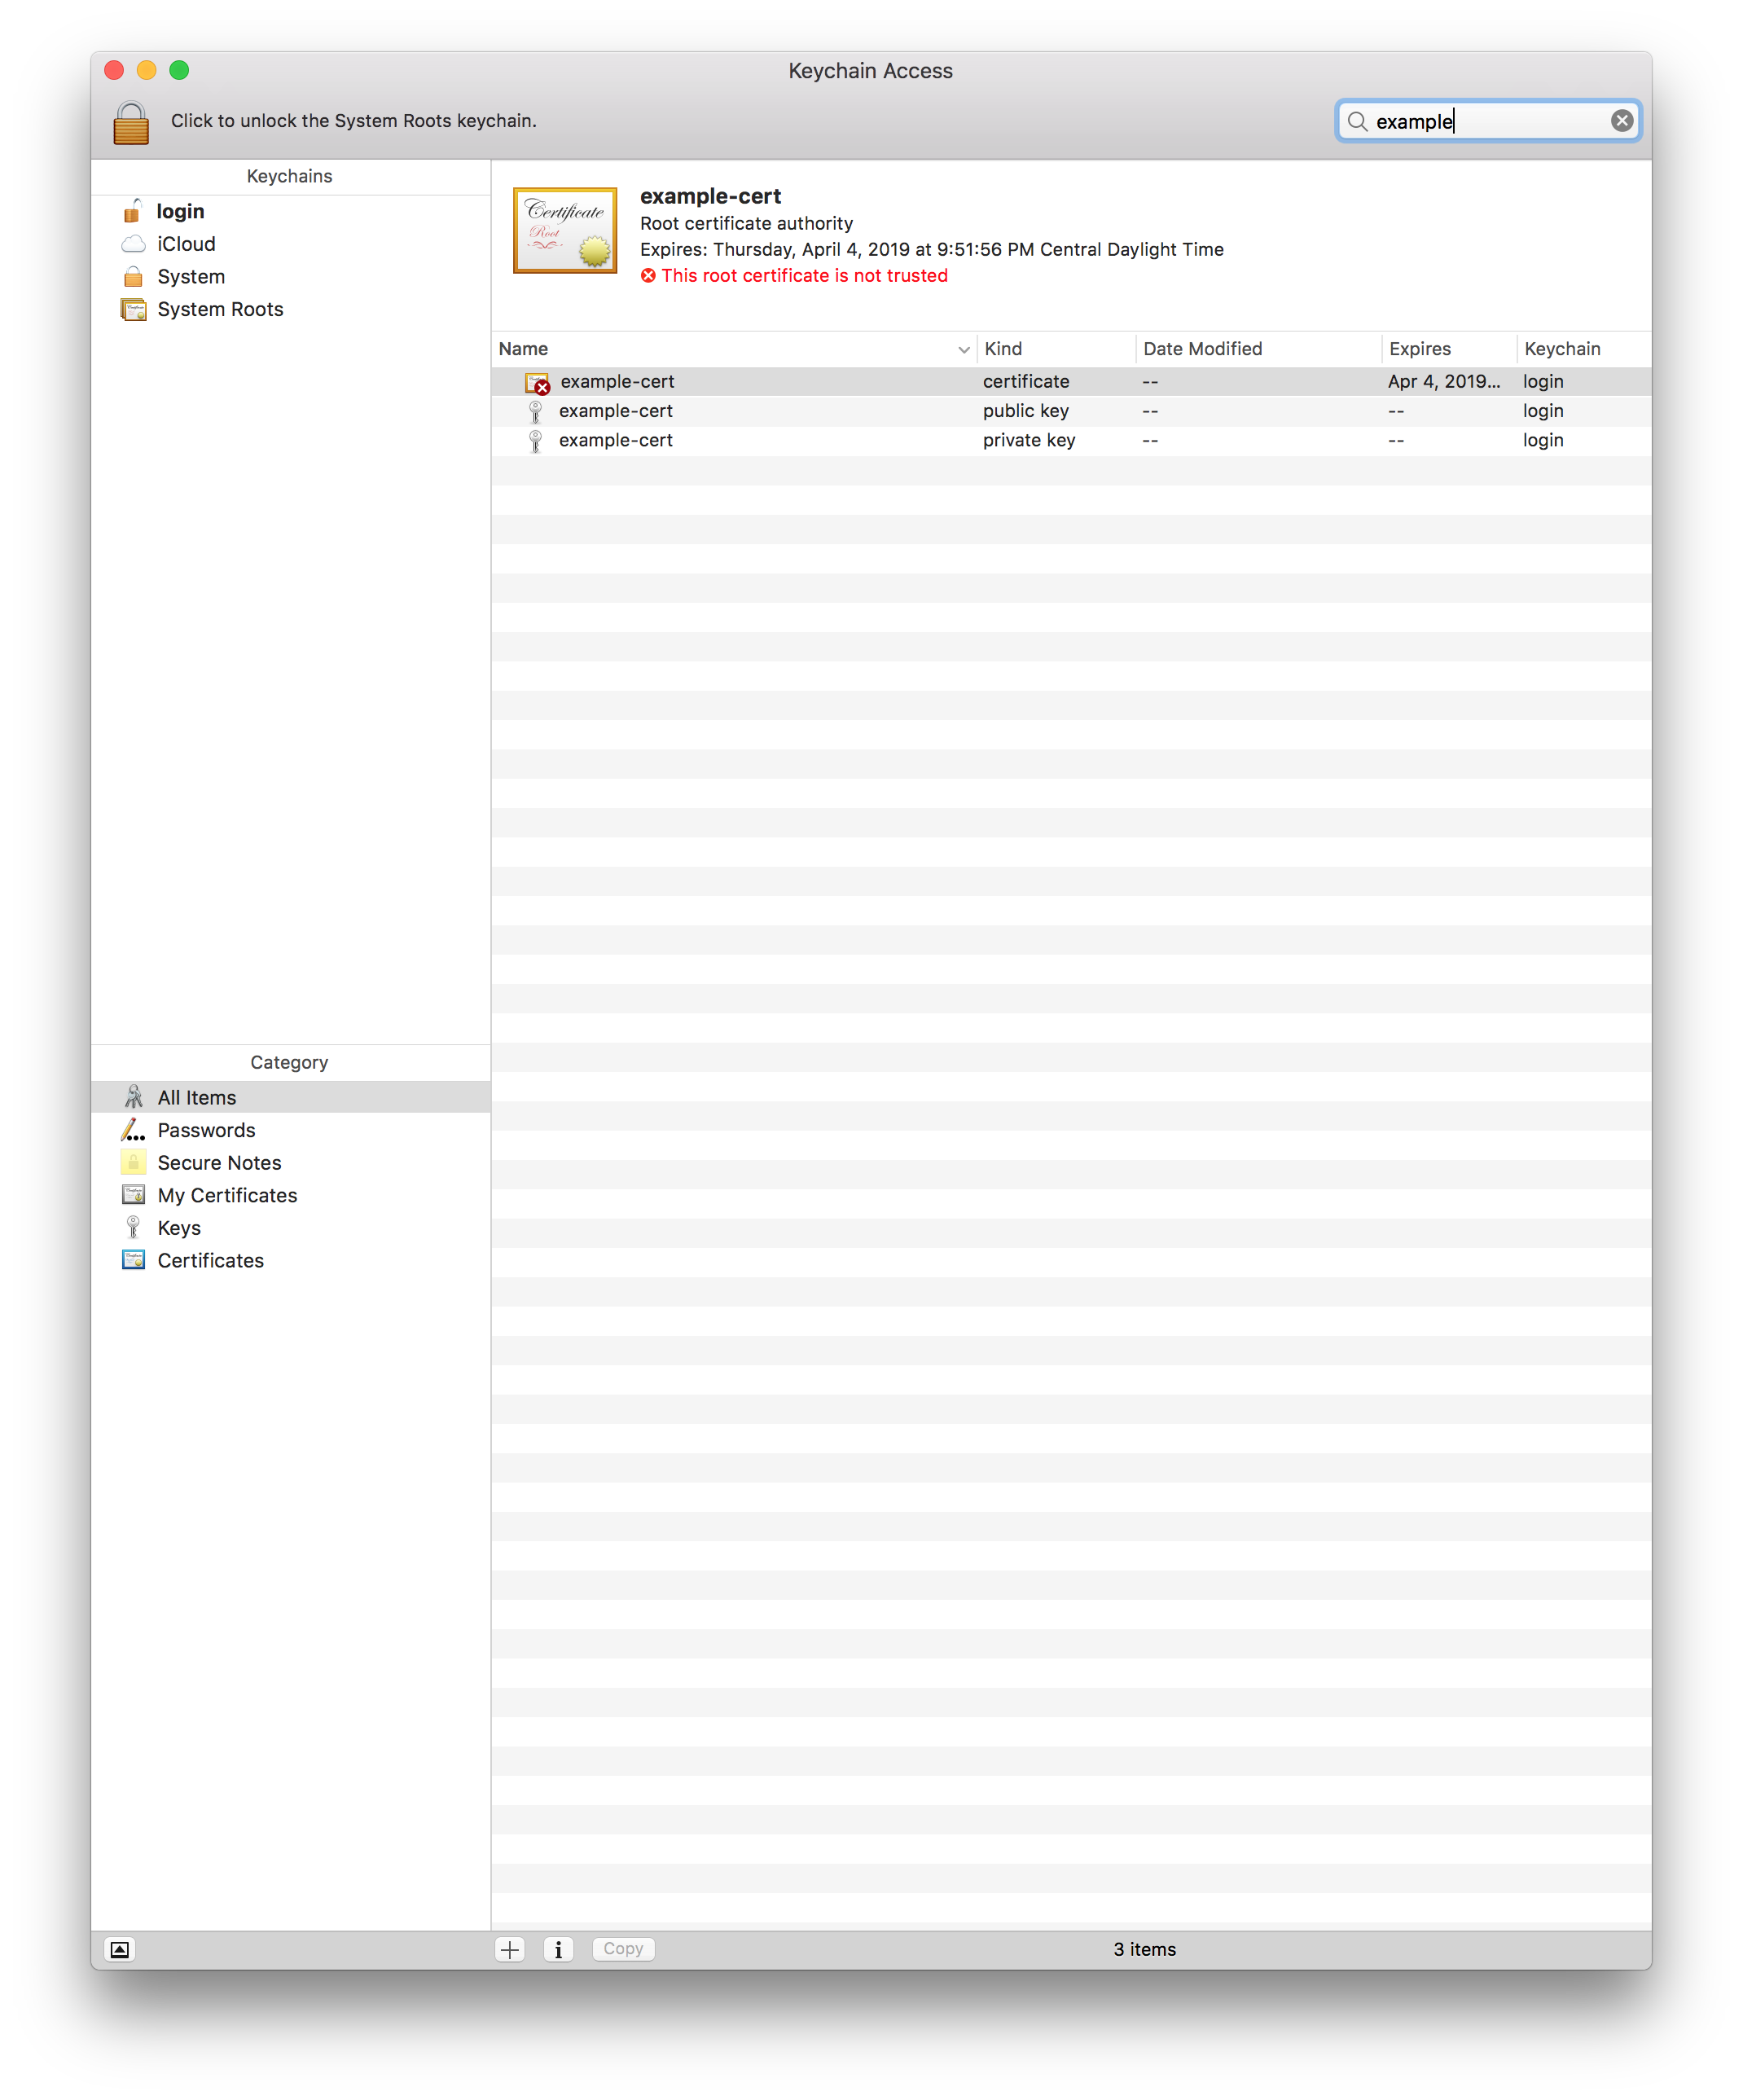
Go back to “Keychain Access”
Search for what you named the CA in step #3
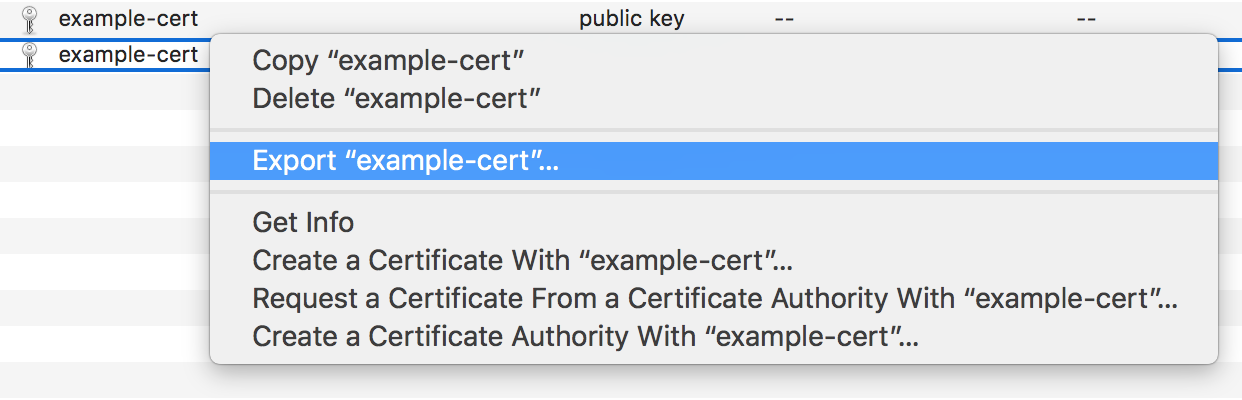
Export the private key
Right click on the private key and choose Export
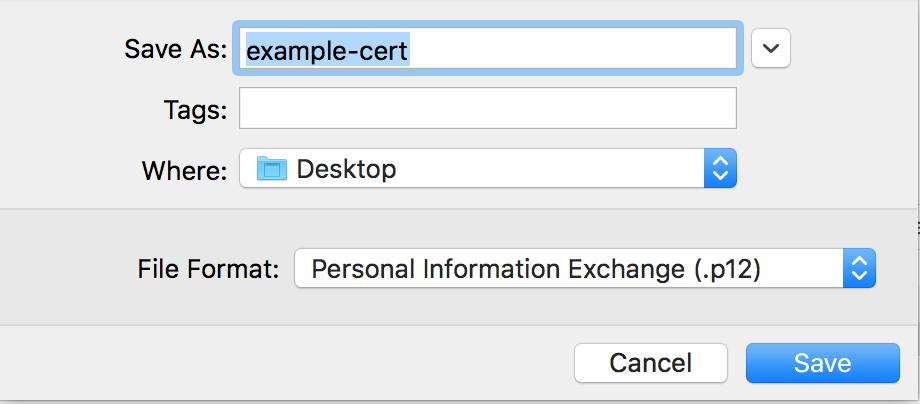
Save the file
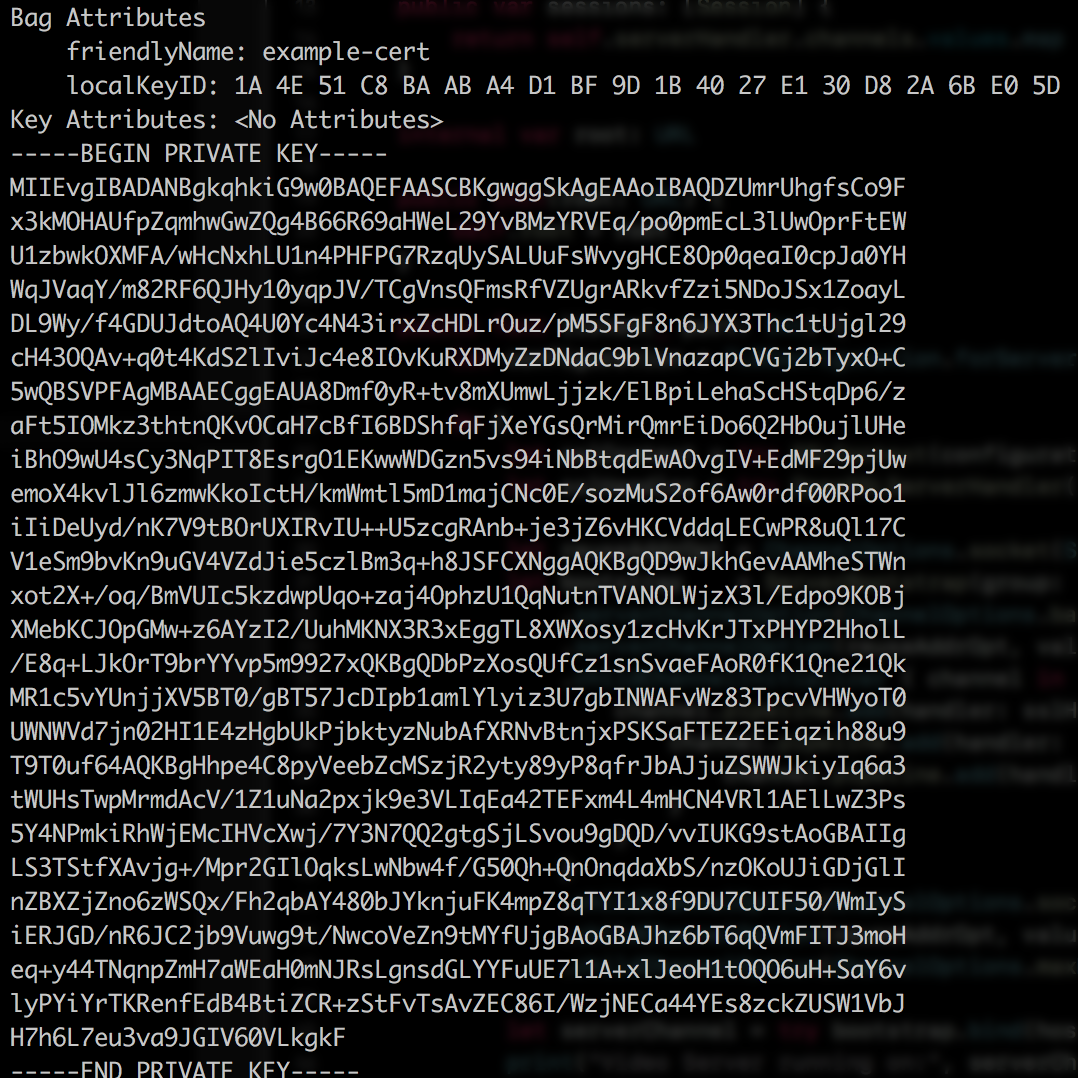
Ensure the file is saved in p12 format
Open Terminal
Run the following command using replacing the keyname where appropriate:
openssl pkcs12 -in INSERT_KEY_NAME_HERE.p12 -out INSERT_WHAT_YOU_WANT_HERE.pem -nodes -clcerts

Enjoy encrypted channel comms
You can know take the certificate and private key and use them with your swift-nio server
Configuring the swift-nio client
While the above will produce a certificate/key you can use with your servers, you may notice that an SSL can't verify error gets generated after trying to connect.
This is because the default TLSConfiguration settings force CA verification.
Since the cert you have is self signed, you have two options
Add the CA to your trusted roots
Tell the client not to verify the cert.
I won’t go into details into Option #1 as that can cause all sorts of new problems for folks reading this.
So instead, here is a snippet you can use to make your client work:
let configuration = TLSConfiguration.forClient(cipherSuites: defaultCipherSuites,
                                     minimumTLSVersion: .tlsv1,
                                     maximumTLSVersion: nil,
                                     certificateVerification: CertificateVerification.none,
                                     trustRoots: .default,
                                     certificateChain: [],
                                     privateKey: nil,
                                     applicationProtocols: [])
The key part is the certificateVerification argument in the initializer.
It is set to .none to bypass verification.